Difficult Photo
8th February 2005 · Last updated: 5th October 2016
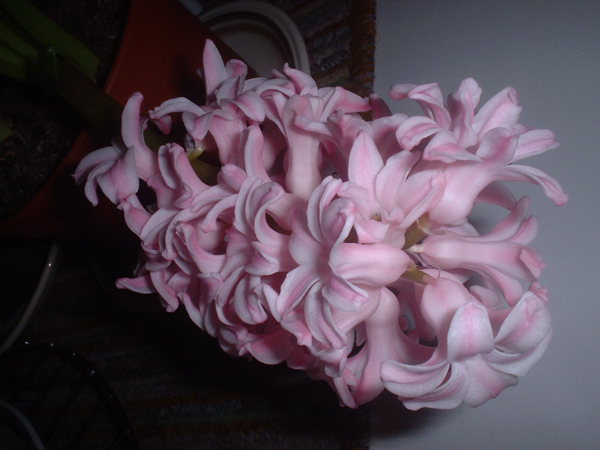
I've taken a series of photographs tonight, but I can't seem to get one of them to look right. The problem is that the foreground is bright enough, but the background is way too dark. The image also seem quite grainy, even though I took it in a bright room with flash. I've tried every image program I've got to adjust it, but with no luck. Ideally, I'd like to add a layer that brightens the dark area, then fades out before the bright area appears. I'm sure there's a way but I couldn't find it out. So I'm throwing the photo open to everyone. See what you can do with it to improve things. Then email me the results, saying what program you used, and how you came up with the final image. The best one I receive will get a permanent credit and link to your site (if you have one).
Here is a thumbnail leading to the photo, which was saved as a 100%-quality JPG to avoid any visible compression artifacts.
Update 23 March 2005: Congratulations to Stu Nicholls who submitted the winning entry below. Stu's entry was one of the first received, but the others were all good too. (It was hard to choose the best one.)
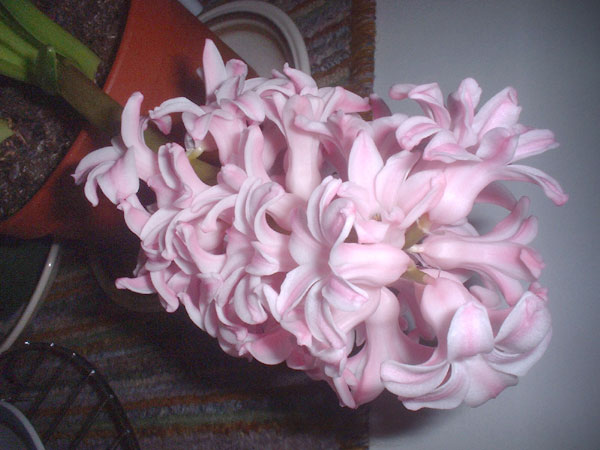
Stu used Photoshop Elements to process the image as follows:
Using the gradient edit tool 'soft light' Opacity 100% gradient left to right black/white. This retains the colours on the right hand side.
Comments (9)
Comments are locked on this topic. Thanks to everyone who posted a comment.
- Chris H:
I have sent off a jpeg with corrections that you asked for - not sure if it's what you want
Posted on 9 February 2005 at 9:41 pm ¶ - Stu N:
Three .jpg images should be with you. Hope one is suitable.
Posted on 9 February 2005 at 10:38 pm ¶ - Blahbahblah:
why not create a gradient over it that fades from white to black or something like that?
Posted on 11 February 2005 at 10:42 pm ¶ - Phil:
I was discussing a similar problem with a friend who is a photographer. I was taking a photo of woods, trail and sky. The woods developed fine, but the detail in the sky was lost. He said that the reason was that to get the detail in the sky you'd have to underexpose, but then you wouldn't get the detail in the woods. The best approach, he said, would be to take a tripod and shoot three pictures of the same scene at different exposures, then work magic in Photoshop by marging them together.
That being said, to take on the existing challenge, I pulled the pic into Photoshop and gave it a go. You should have received one from me (pjb1997).
Great site, by the way!
Phil
Posted on 12 February 2005 at 1:17 pm ¶ - rey mendoza:
The photo you are trying to fix has problem only on gray areas.
if you have photoshop CS, open the image in that editor and click IMAGE > ADJUSTMENTS> SHADOW/HIGHLIGHTS. try to adjust the amount of shadow to the right.
this dialog box only fixes the gray areas, not the highlights, not the shadows. That should fix your problem. I've sent you a sample photo.
Posted on 7 March 2005 at 1:14 am ¶ - harry web:
well ..... I can't take the suspense!!! let's see the results !!!
Posted on 7 March 2005 at 10:00 pm ¶ - Rajan Urs:
Hi,
Thanks for throwing an interesting challenge. I used a image editor PhotoImpact v4.2 by Ulead.Com . The correction was made using Magic Effect / Light. Exposure was set at 100%, Ambience Brightness / White was set at 50% and Light Brightness / White was set at 80% with the direction adjusted towards the darker area.
The overall change has a significant impact on the flowers but the background still remains murky. The best way is to crop out the image and apply a different background or reduce brightness to hide the background images. [ I avoided this because cropping the uneven edges of the flowers hastily will not give the desired result]
I have send the corrected image by email to you. [Filename: orchids.jpg]
Posted on 14 March 2005 at 2:01 pm ¶ - tolak:
I use photoshop to brighten underexposed by open your image then do Ctrl + J to duplicate it, then here is the magic part. Make sure you are on layer 1 or on top of background layer then change the mode to screen. If you need more brighter the hit Ctrl + J again, if it is to bright lower the opacity. Play with mode see what you like. Also combination with photo filter you might experience something else.
Hope this help.
good luck
Posted on 26 March 2005 at 7:17 pm ¶ - Anna Vester:
Hey Chris, this is kind of OFF TOPIC. I could not find a way to contact you via email, so I had no choice but to add a comment.
I have a question about one of the fearures that you have on your website. The book reading progress feature. How did you do it? What did you use to accomplish that? Is it pure CSS?
Hope you don't mind me asking. Plase email me at anka135@yahoo.com.
Regards,
Anna
Posted on 31 March 2005 at 6:03 pm 